Toilet Installation: A Step-by-Step Guide
Home Improvement January 21, 2023, Comments Off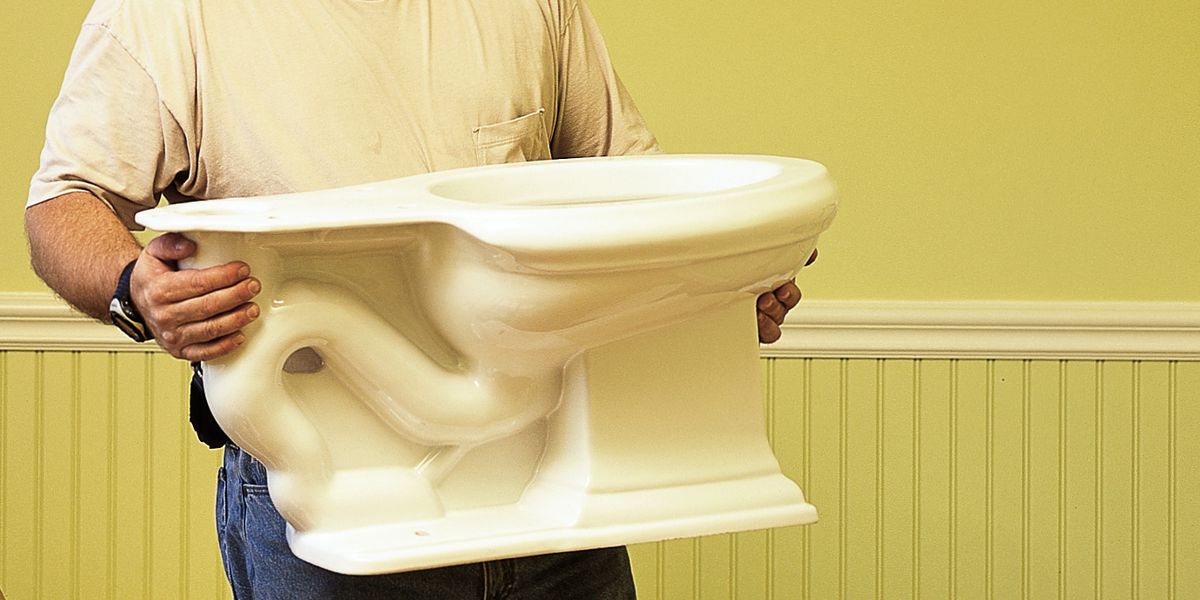
The process of installing a new toilet is not difficult, but there are some steps that must be followed in order to do it correctly. Follow these simple instructions, and you should have your new toilet installed in no time at all!
Step 1: Turn Off the Water
The first step of toilet installation is to turn off the water supply. You will want to do this before you begin any other work, as there are several ways that you can accidentally cause damage if you don’t stop the flow of water.
For most toilets, turning off the water supply involves using a wrench and turning off two valves: one for hot water and one for cold. These valves are usually located under your sink or behind an access panel in your wall. Once these two valves have been turned off completely, flush any remaining liquid out of your toilet by flushing it again–this will ensure that there aren’t any stray drops left behind when we reconnect everything.
Step 2: Remove the Old Toilet
The next step is to remove your old toilet. Use a screwdriver to remove the caps on top of each bolt and then loosen them with a wrench or pliers. Once you’ve removed all four nuts, lift off the tank and set it aside (you’ll want to keep this, since it may be used again). Next, pull up on the bowl itself and slide it out from underneath its seat–then set it on top of its tank so that neither piece can roll over when you’re working on them later. Finally, remove any remaining hardware like handles or hinges before disposing of them properly.
Step 3: Install New Wax Ring and Bolts
To install the new wax ring and bolts, you’ll need to do the following:
- Make sure that your replacement toilet bowl is properly seated on top of its base. If it’s not sitting flush with the floor, use a wrench or adjustable pliers to tighten its mounting bolts until it does.
- Remove any excess sealant from around the toilet base (if there is any). You should only see adhesive around where each bolt goes through both sides of your new floor mount unit–not anywhere else! If there is excess sealant on other parts of your new fixture’s baseplate or flange assembly, scrape it away.
Step 4: Set New Toilet Bowl in Place
You have to lift the toilet bowl and place it on the floor. Then, check that it is level by placing a level across each side of the tank. If not, adjust the bolts on your new flange to make sure the flange is level with both sides of your flooring. Once you have set your toilet bowl in place, tighten all fasteners securely and check for leaks around all connections before moving on to step 5.
Step 5: Install New Tank
To install the new tank, first, ensure it’s level on the floor and then secure it with the bolts your contractor provided. Loosely tighten all four bolts at first. Then, go back through each step of tightening them down until they are snug but not overly tight–you don’t want to crack or break any parts! Finally, connect the tank to its bowl connection point using the plumber’s putty (or some other type of sealant) between them before installing any additional hoses or pipes into either end of this assembly so that everything remains watertight throughout use.
Step 6: Attach Supply Line and Water Supply to Tank
To attach the supply line to your toilet tank, hold it up against the tank wall and align it with the hole in the back of your bowl. Use pliers or another tool to tighten down on each nut until they’re snug. Once you’ve done this, use hot water from your faucet to check for leaks around every connection point (this is also a good way to test whether or not you have full water pressure). If there are no leaks, reinstall all caps on those nuts so they don’t get lost!
Step 7: Connect the Tank to the Bowl and Tighten Nuts, Then Reinstall Caps on Nuts
Now that you’ve installed the tank, it’s time to connect it to the bowl. First, tighten down each nut until they are snug (but not too tight), then install caps on each nut.
Finally, reattach your seat and admire your work!
Step 8: Reinstall Seat
Once you have installed the new toilet, it is important to check for leaks. You can do this by placing a drop of food coloring in the tank and letting it sit overnight. If there are any leaks, the colored water will appear in your toilet bowl in the morning.
If everything looks good and there are no signs of leakage, then you can begin replacing your old seat with a new one by attaching it securely to both sides of your bowl with screws or bolts (depending on what type of seat you purchased). Make sure that when attaching your new seat, it is level on both sides so as not to cause damage or injury when sitting down!
Conclusion
Now that you know how to install a toilet, you can save yourself some money and do it yourself. Just follow these steps, and you’ll be able to save some money on plumbing bills as well!